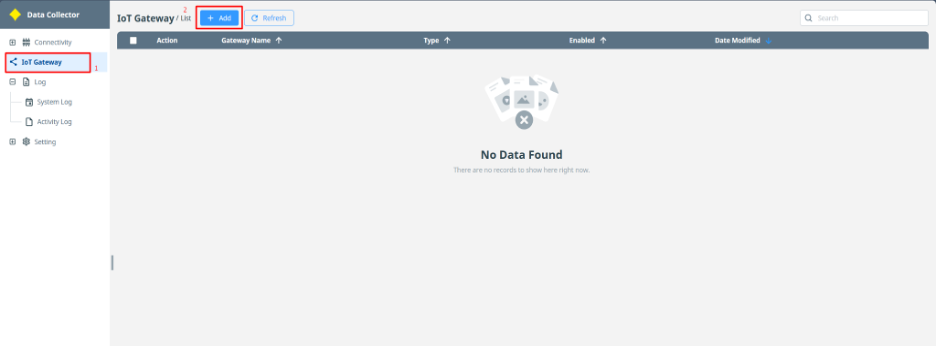
Step 1: Access IoT Gateway on the left sidebar then click Add button in IoT Gateway / List.
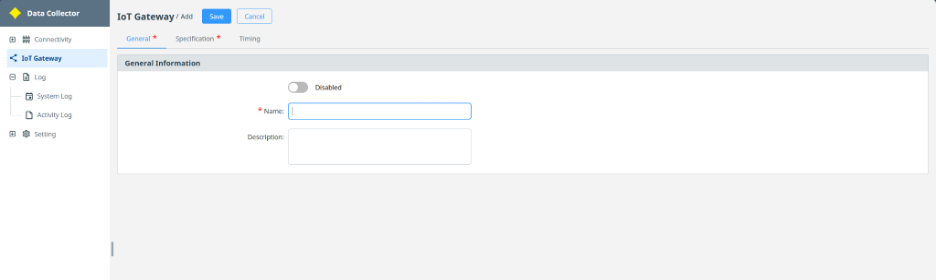
Step 2: Fill in fields in the General tab.
Gateway Name is mandatory and unique.
Enabled / Disabled toggle: allow users to adjust the connection status to the connected broker.
Enabled: system will send data via D2C jobs & receive commands from cloud via C2D jobs.
Disabled: system cannot send data to cloud & receive commands from cloud. All the enabled jobs will not be connected to the Cloud & display connection status Error
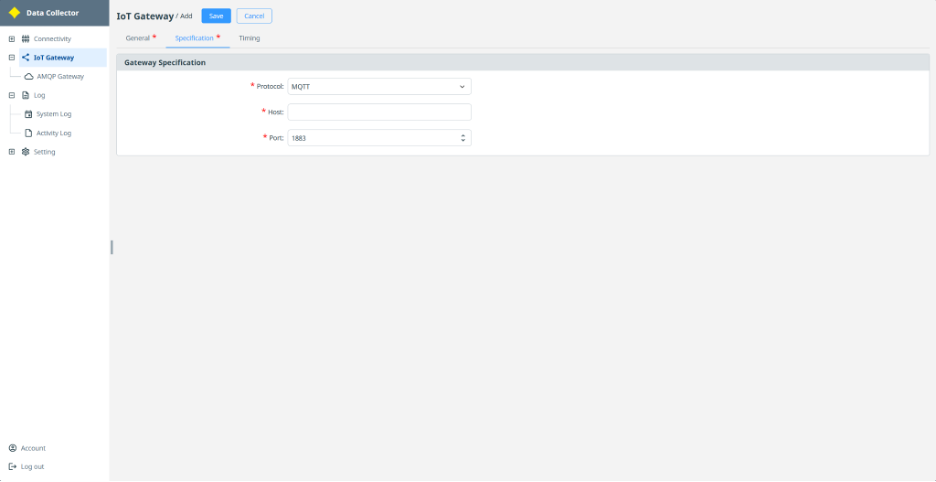
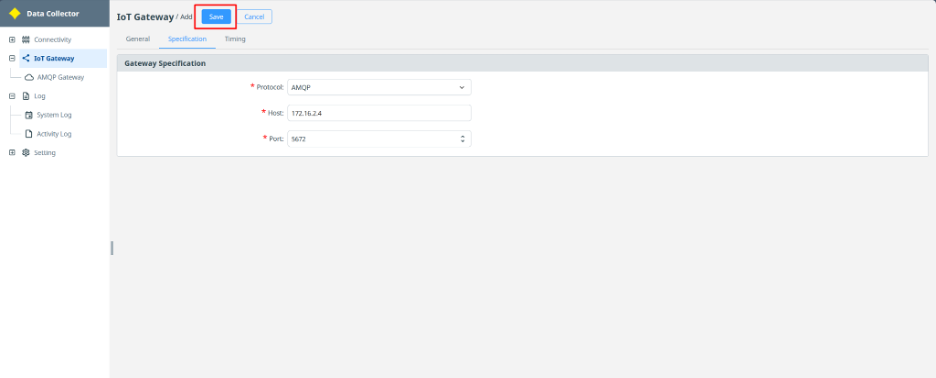
Step 3: Fill in fields in the Specification tab.
Protocol: the protocol that the user wants to use to connect from the Data Collector application to the cloud. There are 3 supported protocols: MQTT, AMQP and COAP. The default is MQTT.
Host: the host of the cloud.
Port: the ports that the Data Collector application will use to connect to the users' Cloud. There are 3 default ports for 3 different protocols: MQTT is 1883, AMQP is 5672 and COAP is 5683.
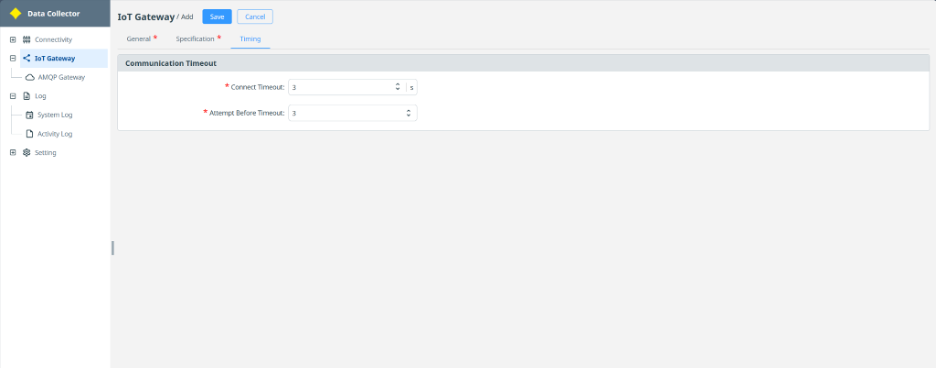
Step 4: Fill in fields in the Timing tab.
Connect timeout: maximum time waiting for Data Collector to start and create a connection to device - socket timeout (range 1-30 seconds, default 3 seconds).
Attempt Before Timeout: number of times retry before the status of Jobs displays "Error". Value range: (1-10, default 3), apply for connect timeout.
Step 5: Click Save.
After creating the IoT Gateway successfully, users can see the device in the Gateway List.